Originally published: Jun 23, 2022
Updated: May 20, 2025
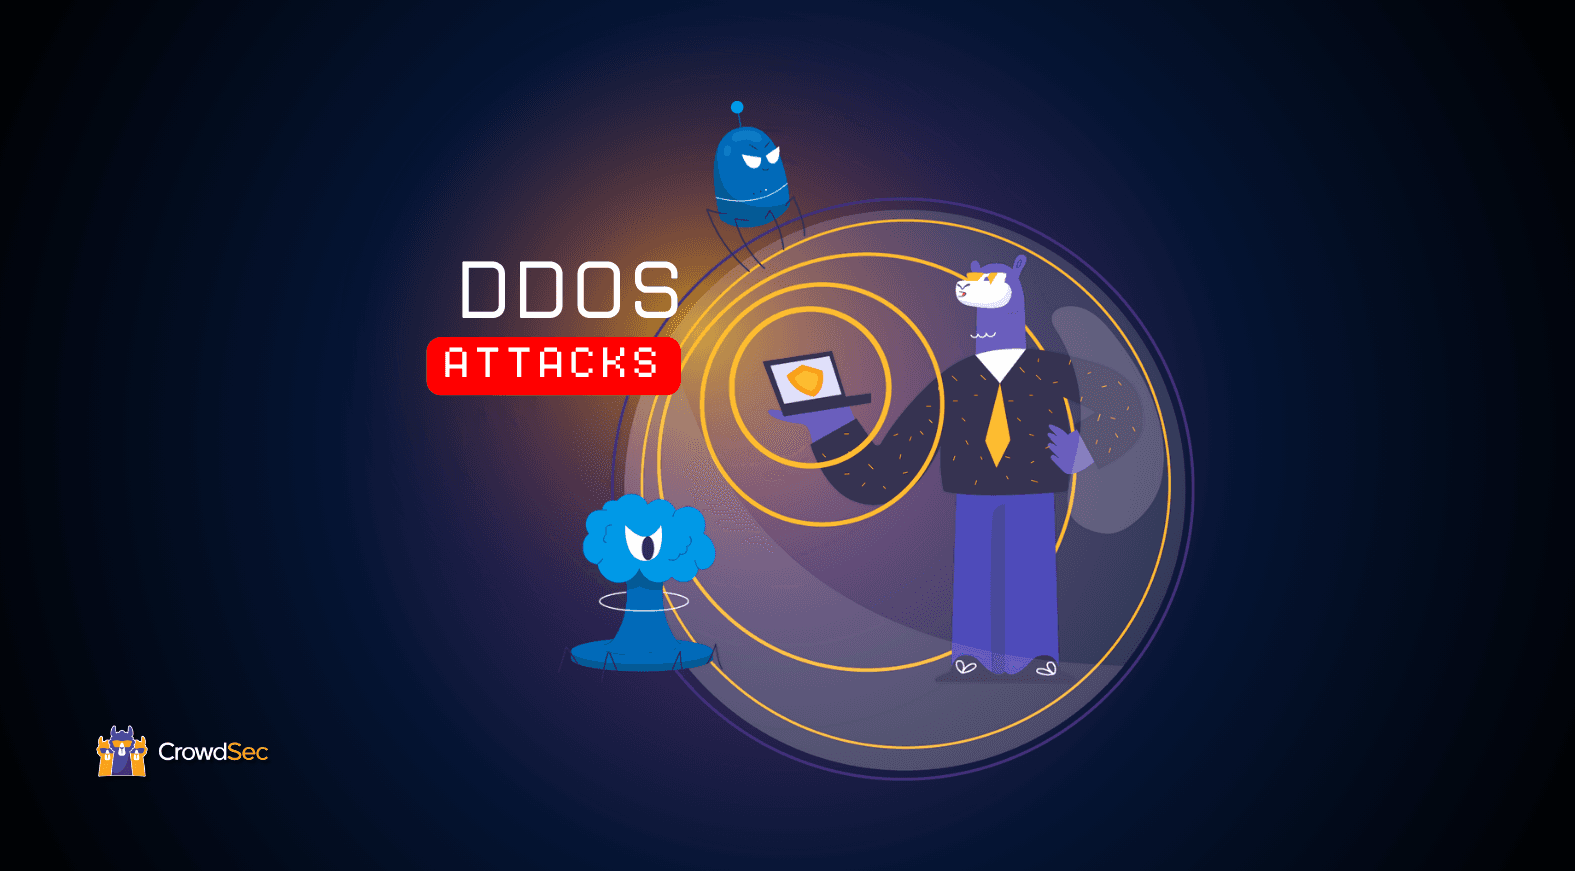
Distributed Denial of Service (DDoS) attacks are a very popular way for criminals on the internet to attack you, either to hurt you or your business directly, to extort you, or for practically any other reason.
Read along for a general introduction to DDoS as a concept, the different types of DDoS attacks, and how crowd-powered and preemptive security can be a successful protection mechanism.
What is a Distributed Denial of Service attack?
Distributed Denial of Service (DDoS) attacks are a widespread tactic used by cybercriminals to overwhelm online services with excessive traffic. These attacks can disrupt business operations, cause reputational damage, or serve as a tool for extortion, often requiring minimal effort while creating a significant impact.
The sources of these requests are often compromised devices such as servers, home routers, or IoT gadgets that have been co-opted into a botnet under the attacker’s control. This also makes it difficult to trace the true origin. The more powerful the target machine is, the more traffic an attacker needs to generate to bring it down, often requiring multiple devices working together in coordination.

Identifying the types of DDoS attacks
Common signs of a DDoS attack include poor performance, service outages, or unusual behavior from your device or application. In many cases, system resources like CPU, RAM, or input and output are maxed out without a clear reason. One of the most noticeable signs is a sudden spike in traffic to your service or machine, especially from unusual geographic locations or IPs.
However, it is important to approach this carefully. A sudden increase in traffic does not always mean you are under attack. In fact, performance issues are often caused by routine problems or misconfigurations.
A good starting point is to review your logs and try to identify if the requests have the same source, but this can also sometimes be hard because the attacker may be attacking from multiple sources spread all around the world (hint: that’s where the “distributed” part comes from).
Another crucial factor to consider is which network layer the attack is targeting. Different layer attacks mean different ways of stopping and preventing one. So, this has to do more with “looking at the right place” in case you are being attacked, because it will help you easily identify the source and type of the attack and also the importance of ensuring protection on all levels.
Let’s take a look at the 7 Layer OSI Model of the Network.

Most commonly, DDoS attacks happen at Layer 3 (Network Layer) or Layer 7 (Application Layer).
What is Layer 3 DDoS?
Layer 3 DDoS attacks target network equipment and infrastructure. A very important detail for these types of attacks is that they are connectionless, meaning that a TCP connection is not necessary for the attack to happen.
Layer 3 is responsible for routing the chunk of information spread across the network, otherwise known as packets. At Layer 3, protocols like IP, IPSec, and ICMP take place. These protocols are not responsible for establishing connections and opening ports; instead, they are responsible for data division into packets and routing them towards the destination.
Layer 3 DDoS attacks are generally easier to launch but tend to occur less frequently than application-layer attacks. This is partly because infrastructure-level defenses, like firewalls and upstream filters, are often better equipped to handle them compared to attacks targeting specific services at the application layer.
Let’s look at an example. A Layer 3 attack with ICMP flood is currently happening on your machine. You start having connection issues with your machine, and you suspect that it’s a DDoS attack. Even if you check the logs of your web server or the SSH service, you will see nothing because the attack is happening right under your feet, on a lower level that you might not have suspected.
This means that a defensive mechanism for one layer of the OSI model — for example, a Web Application Firewall (WAF) for the service level — does not necessarily protect you on all levels (e.g., Level 3 Ping ICMP flood attack), and this is critically important to remember.
Important note: At this level, only network resources are consumed by the attack.
What is Layer 7 or application layer DDoS?
Layer 7 or application layer DDoS attacks target services that require some sort of connection — for example, a TCP connection with an HTTPS service. The core principle of the attack is the same as the Layer 3 attack, sending a large number of requests from many devices towards a single destination. But the key difference is the handler of these requests.
Let’s consider the attack is happening on your HTTPS Service which consists of an Nginx server listening on ports 80 and 443 (HTTP/HTTPS). Nginx is a high-performance and high-availability web server that is built to handle multiple requests at a time. This means that usually it is utilized to use as many resources as possible from your machine, to serve content to your users as fast as possible (which is quite reasonable).
But this can have a negative side as well. Imagine multiple devices targeting your server at a time. Nginx (or any other web server for that matter) is not smart enough to distinguish normal traffic flow from the ones that have the purpose of shutting down the service. In the case of a DDoS attack, the Nginx Server will utilize as many resources as possible, until the service fails (it drops all connections due to the lack of resources to compute them, the queue is full, and the service cannot do anything but drop).
Mitigating DDoS attacks
In some mild cases, restarting your machine or service may offer temporary relief, but without proper mitigation, such as blocking the source IP address, the attack will likely return. If it comes from a different source, your services may remain inaccessible, leading to frustrated users, loss of trust, negative reviews, and reduced revenue.
On the other hand, what if there were a solution that is easy to configure, ensures protection, and is also cost-effective? At the beginning of this article, you were introduced to the term crowd-powered and preemptive security. So what is it, and what role does it play in all these scenarios?
Protecting your services against DDoS attacks using the power of the crowd
If we haven’t been able to outsmart cybercriminals (at least so far), why don’t we try outnumbering them?
At least that’s the philosophy CrowdSec relies upon.
The CrowdSec Security Engine is an open source behavior-based IDPS, driven by collective intelligence and coupled with a global IP reputation network. It stacks on fail2ban’s philosophy, but is IPV6 compatible and 60x faster patterns to parse logs and scenarios to identify behaviors.

CrowdSec works by reading log outputs of the applications it monitors. These logs, by default, are hard to read and process in their raw state, because in most situations applications and services dump information for all types of interaction, including information, warning, and error logs.
Note: These logs are parsed, meaning that only the necessary information is extracted from them, making them easier to process and read.
Besides parsers, there are configurations called scenarios, which basically describe harmful behaviors that need to be detected on your system, such as DDoS attacks, brute force, probing, crawling, etc.
Another key component of the Security Engine are the Remediation Components. These are application-specific configurations which based on the scenarios triggered, take actions to protect the services they were configured for.
What makes CrowdSec very special is the ability to report harmful IPs to a central database where communities all around the world (more than 150 countries) report these IPs and the types of attacks they have been getting from them.
By the time the Security Engine runs on your machine, a list of malicious IPs reported by the CrowdSec Network will be blocked, meaning that the first layer of protection has already been laid on your infrastructure.
Putting theory into practice: How to mitigate a Layer 7 DDoS attack with CrowdSec & Cloudflare
L7 DDoS attacks are complex to handle. One or two HTTP requests per source make them nearly impossible to mitigate with simple IP-level remediation — banning the IP from your logs is pointless, as the IP is never reused.
One solution is to integrate a geolocalization aspect in counter-measures: attacks come mostly from countries X and Y or Autonomous System (AS) X and Y. However, banning these given countries will mean false positives and collateral damage. Legitimate users from countries where the attack is coming from would be denied access to a website, which might not be acceptable (for example, in the case of an ecommerce website).
But fear not. Using something as simple as CAPTCHAS as a countermeasure rather than purely dropping the attackers would allow legitimate humans to pass through and bad bots to stay outside at a reasonable cost. Let’s see how that works out with CrowdSec.
Simulating a Layer 7 DDoS attack
To give a proper demonstration of how well the Security Engine performs when handling DDoS attacks, we need to simulate one!
We started a t2.medium (2 Xeon cores @2.4Ghz / 4Gb RAM) with Apache2 MySQL running a WordPress site with WooCommerce.

We used a third-party “booter” (read: DoS/DDoS service) to generate the attack. After launching a 20-minute L7 DDoS from this platform, we saw between one and two thousand distinct IPs being involved, and inevitably, after a minute or so, the site crashed.

To provide a bit more context, here are some metrics about one of the attacks:

CPU usage remained very high throughout the test.


Traffic decreases because the website is not accessible. During the attack, we saw:
- 70K HTTP requests
- 1,150 unique IP addresses (fairly well distributed across the IPV4 address space)
Our take on the problem
As is very often the case with “state-of-the-art” L7 DDoS, we assume that we are only going to see one or two HTTP requests per involved attacking IP and that we need to be able to make decisions at country or AS level. And this is where the Cloudflare Remediation Component comes into play.
Why use a Cloudflare Remediation Component, you ask? Cloudflare, through its API, allows us to set rules targeting not only IPs and ranges but also AS and countries, which is convenient for our use case, and the available remediations include Turnstile challenges. Here is what we would like to achieve (national flags are arbitrarily pictured and do not reflect any reality):

During the L7 DDoS, countries from which the attack is mostly coming will be subject to CAPTCHAS (China, Indonesia, and India, in our example), while other countries (here, France and Spain) will stay unaffected. However, legitimate users from countries where attacks are coming will still go through, just by filling out a CAPTCHA.
To achieve this, the CrowdSec Security Engine will read Apache2 logs, detect the ongoing DDoS sources, and emit decisions that the Cloudflare Remediation Component will consume to instruct Cloudflare (grey block) to block the attackers.
Next, we will create a CrowdSec scenario to detect excessive traffic from a given country, Autonomous System, or any given IP/range. This scenario will then apply CAPTCHA rules to the source country/AS/range/IP via the Cloudflare API. Note that to work correctly, Apache2 must be configured to deal with X-forwarded-for HTTP header to display actual attackers’ IPs and not Cloudflare ones.
Trial by fire: Installing the Security Engine
Let’s install the CrowdSec Security Engine (straight from the doc) along with the Cloudflare Remediation Component. No specific tuning is needed, and the Security Engine is running on the targeted machine. Firing the same test attack as before leads to very different results.
First of all, from a Cloudflare standpoint, we can see our rules are hitting spot on.

The results regarding the resources consumed by the machine are very different. Within 5 minutes after the attack started, resources were back to normal, and around 2 of those 5 minutes were the delay for Cloudflare to apply the rules.


Both CPU and network go back to normal within 5 minutes. Here is a short video showing how the attack and remediation are looking.
Implementing the scenario
The scenario itself is rather straightforward and will simultaneously count the number of IPs coming from the same range, country, or AS. If this number reaches a threshold, we will emit a decision of type captcha on the source country, range, or AS.
type: leaky#debug: true
name: crowdsecurity/http-ddos-by-ASN
description: "Detect and prevent applicative DDoS by leveraging CF-like bouncers"
filter: "evt.Meta.ASNNumber != '0' && evt.Meta.service == 'http' && evt.Meta.http_status == '200' && evt.Parsed.static_ressource == 'false'"
groupby: "evt.Meta.ASNNumber"
distinct: "evt.Meta.source_ip"
capacity: 20
leakspeed: "10s"
blackhole: 5m
labels:
  service: http
  type: scan
  remediation: true
scope:
  type: AS
  expression: evt.Meta.ASNNumber
---
type: leaky
#debug: true
name: crowdsecurity/http-ddos-by-cn
description: "Detect and prevent applicative DDoS by leveraging CF-like bouncers"
filter: "evt.Meta.IsoCode != '' && evt.Meta.service == 'http' && evt.Meta.http_status == '200' && evt.Parsed.static_ressource == 'false'"
groupby: "evt.Meta.IsoCode"
distinct: "evt.Meta.source_ip"
capacity: 50
leakspeed: "30s"
blackhole: 5m
labels:
  service: http
  type: scan
  remediation: true
scope:
  type: Country
  expression: evt.Meta.IsoCode
In case you are not familiar with the syntax of a scenario, let’s take a look at the crowdsecurity/http-ddos-by-cn scenario. Here is the scenario filter on incoming HTTP requests that are not targeting static resources.
filter: "evt.Meta.IsoCode != '' && evt.Meta.service == 'http' && evt.Meta.http_status == '200' && evt.Parsed.static_ressource == 'false'"
The bucket will group events by source country and will only count distinct IPs since the goal is to count the number of unique IPs coming from a country at a given time.
groupby: "evt.Meta.IsoCode"
distinct: "evt.Meta.source_ip"
We will authorize 50 distinct IPs every 30 seconds.
capacity: 50
leakspeed: "30s"
blackhole: 5m
If the scenario is triggered, it will launch a remediation against the source country.
labels:
  remediation: true
scope:
  type: Country
  expression: evt.Meta.IsoCode

By default, CrowdSec will only process decisions that are targeting specific IPs. However, in our case, we need to be able to apply decisions targeting Autonomous systems or even countries. In order to do so, we need to edit /etc/crowdsec/profiles.yaml to add the appropriate blocks:

name: default_ip_remediation
#debug: true
filters:
 - Alert.Remediation == true && Alert.GetScope() == "Ip"
decisions:
 - type: ban
   duration: 4h
on_success: break
---
name: default_country_remediation
#debug: true
filters:
 - Alert.Remediation == true && Alert.GetScope() == "Country"
decisions:
 - type: ban
   duration: 4h
on_success: break
---
name: default_AS_remediation
#debug: true
filters:
  - Alert.Remediation == true && Alert.GetScope() == "As"
decisions:
 - type: ban
   duration: 4h
on_success: break
Remediating at the edge.
Once we have detected the attack sources, we can apply the remediation directly on the edge of your infrastructure: CDN or Firewall Appliances.
We’ll provide an example of using Cloudflare to both remediate against detected IP and manually added countries.
To set up the Remediation Component, you can follow the documentation.
Here is a summary of how it works: After installing it on your host where your Security Engine resides, you allow the Remediation Component to talk to your Cloudflare with a permission token generated as mentioned in this paragraph:

The Remediation Component will spawn a Worker and create a KV store (Key Value Store).
The Remediation Component receives decisions from the Security Engine and pushes them to the KV store. Those decisions concern either an IP, country, or ASN number and are paired with the type of desired remediation ban or captcha.
When a request comes in, the Worker will check the KV for any matching IP, country, or ASN from the source IP and apply the proper remediation. Note that CAPTCHA will trigger a turnstile challenge.

If you want to manually ban an IP or country, you can do so using the following commands:
To add:
sudo cscli decisions add -i 1.2.3.4
sudo cscli decisions add --scope country --value fr
To remove:
sudo cscli decisions delete --value fr
sudo cscli decisions delete --value 1.2.3.4
To see that it works, you can check the created KV store in your Cloudflare UI.


Taking DDoS protection to the next level with curated blocklists
What if I told you that you can preemptively block malicious IPs known for performing large-scale DDoS attacks?
If you want a simple solution that does the work for you, then the curated CrowdSec HTTP DDoS Attackers Blocklist is exactly what you need. This blocklist contains IPs that have been widely reported for performing HTTP DDoS attacks. Proactively blocking these IPs helps you prevent DDoS attempts on your systems and establish an overall safer perimeter.
Integrating the CrowdSec Blocklists into your infrastructure is a piece of cake.
- Generate a CrowdSec Service API key via the CrowdSec Console.
- Implement the HTTP DDoS Attackers Blocklist as automated blocking rules on your existing firewall or CDN.
- Enjoy immediate protection against these attacks and an overall reduction in security alerts and operational costs.

Defend Against DDoS Attackers
Preemptively block malicious IPs performing DDoS attacks to save time and resources.
Get started